Crawlspace Sense
After twenty two years of inspecting houses with crawlspaces, I have become alarmed at how many of these spaces are not performing as they were intended. After much thought and analysis, I have become a believer in the conditioned crawlspace.
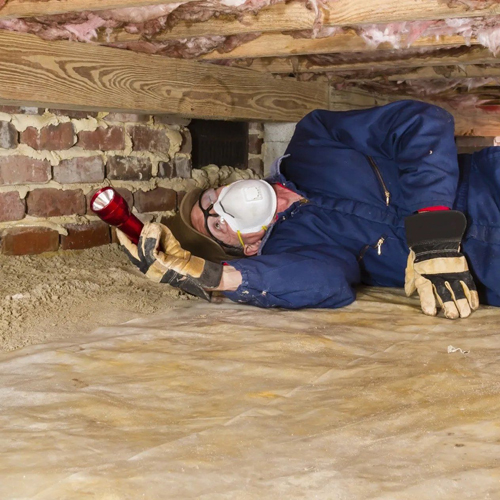
Let’s first ask ourselves why anyone would build a crawlspace. The most common reason is that some build-able lands come with a very high water table, which will not permit a full basement. Another reason is that it’s less expensive to build a crawlspace versus a full basement. And finally, some builders prefer a crawlspace over a slab type system because a crawlspace allows access to install and manage your plumbing, electrical and heating and cooling systems. Unfortunately, sometimes the builder doesn’t allow enough space for a person to “crawl” through the space, much less attempt to perform any work, if required. And let’s face it, who would want to roam the crawlspace under their house? I know I don’t.

Most modern building codes require a builder to insulate between the floor joists, lay a vapor barrier on the floor and install ventilation thru the walls. Unfortunately, when I inspect this type of crawlspace in the summer and winter months, it is usually very humid due to moist air entering the space and mixing with the atmosphere under the house. This will eventually cause mildew and mold to form on the wood framing and in the insulation fibers. Sooner or later this condition will rot the structural floor frame and allow molds to enter the living spaces above. So how can we mend a broken system? Retrofit your crawlspace by creating a conditioned space.
First, make sure the crawlspace is dry, or free of water intrusion. If there is water entering the space, you must correct the problem by doing the following:
- Ensure that the gutters are collecting the roof water and running free.
- Extend the downspouts to a minimum of 6 feet from your foundation walls.
- Ensure that the landscape grading has a positive grade away from your foundation walls. A rule of thumb is 1” fall for every foot, for at least 6 feet.
If that corrects the water entering the crawlspace, then thank your lucky stars. If it doesn’t, then do the following:
- Install a 4 inch perimeter drain “tile” covered with drainage cloth and surrounded by gravel on the interior of the foundation walls. The tile drains directly into a sump pit with a pump.
Now that we have cured and or managed the water seepage into the crawlspace, it’s time to incorporate the conditioned crawlspace by following these steps:
- Remove all debris and the insulation between the floor joists. Next, clean all the mold and mildew from the wood framing, and utilities. See the article on our web site for cleaning mold.
- Install 12 mil or greater plastic vapor barrier from sill plate down foundation walls.
- Install vapor barrier across the dirt floor. Be sure to overlap all seams a minimum of 12 inches. Next, tape the seams.
- Close the vents located in the foundation walls and cover them with rigid foam. Install a minimum R-13 insulation on the exterior perimeter walls. You may use rigid or foil type insulation. I used an insulation/ radiant barrier product called Prodex. I purchased it from www.insulation4less.com
- Install a 4 x 12 HVAC register for every 800 square feet of space. This will pressurize the crawlspace so that it will breathe with the house. Consult with an HVAC contractor for the correct sizing of the air flow.
- Install an 8 x 8 return register or larger depending on load calculations performed by your HVAC mechanic.
After all of this work, you will honestly see a tremendous change in the crawlspace. This project will not compare with say a bathroom and kitchen remodel but it will greatly improve your living environment. At your next cocktail and dinner party, as your guests are admiring all the improvements to your house, make sure you give them a tour of your crawlspace! And you can even have overnight guests bunk in the space.


